進入 /usr/local/nginx/conf
sudo cd /usr/local/nginx/conf
創(chuàng)建 vhost 目錄
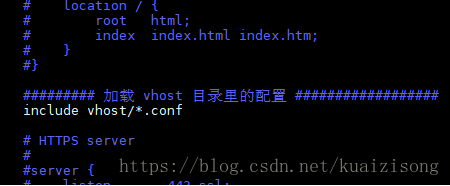
修改 nginx.conf 文件
sudo cp nginx.conf nginx.conf_back
sudo vim nginx.conf

設置訪問機器的 hosts 文件�����,以便模擬訪問�����,我這里使用的機器是 windows 10,hosts 文件在 C:\Windows\System32\drivers\etc 文件夾下��。

創(chuàng)建端口代理配置文件
sudo cd vhost
sudo vim www.jaydenmall.com.conf
server {
	# 監(jiān)聽 80 端口
  listen 80;
  autoindex on;
  server_name www.jaydenmall.com;
  access_log /usr/local/nginx/logs/access.log combined;
  index index.html index.htm index.jsp index.php;
  if ( $query_string ~* ".*[\;'\&;\&;].*" ){
    return 404;
  }
  location / {
    # 反向代理到 8080 端口
    proxy_pass http://127.0.0.1:8080;
    add_header Access-Control-Allow-Origin *;
  }
}
重啟 nginx
sudo ../../sbin/nginx -s reload
有可能會出現(xiàn)錯誤���,這時需要使用nginx -c的參數(shù)指定nginx.conf文件的位置�。

sudo killall -9 nginx # 殺掉 nginx 進程
sudo /usr/local/nginx/sbin/nginx -c /usr/local/nginx/conf/nginx.conf
sudo ../../sbin/nginx -s reload # 重啟
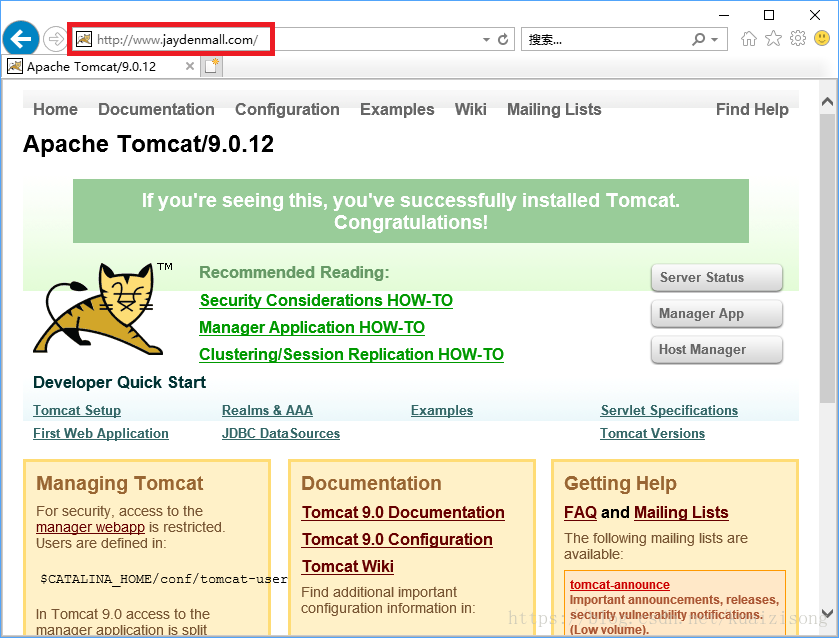
端口反向代理成功���,注意紅色部分是默認的 80 端口�����,實際指向的確是 tomcat 的 8080 端口��。

以上就是本文的全部內容����,希望對大家的學習有所幫助���,也希望大家多多支持腳本之家�。